[ad_1]
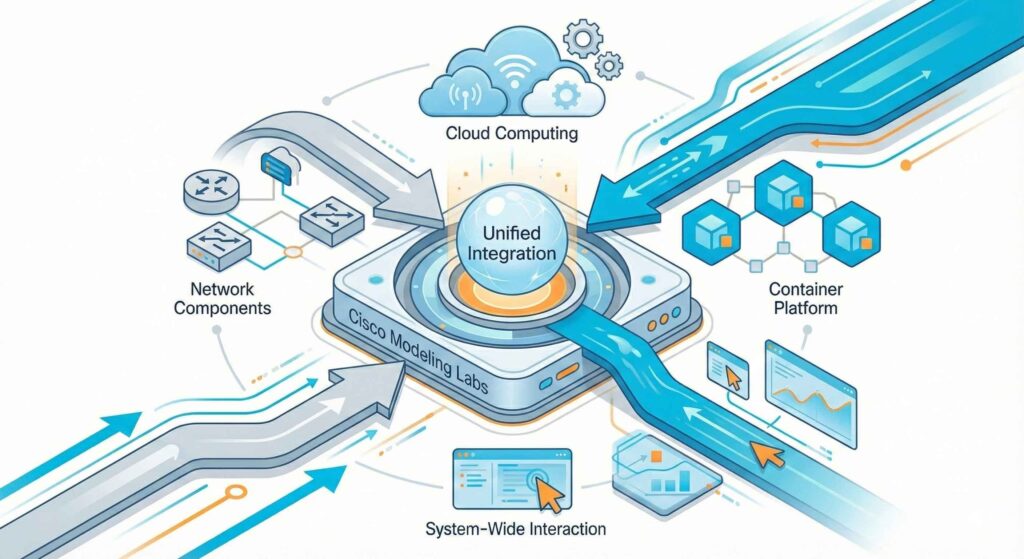
Container nodes in Cisco Modeling Labs (CML) 2.9 complement virtual machines, offering greater flexibility and efficiency. Engineers benefit from having lightweight, programmable, and rapidly deployable options within their simulation environments. While virtual machines (VMs) dominate with network operating systems, containers add flexibility, enabling tools, traffic injectors, automation, and full applications to run smoothly with your CML topology. Traditional virtual machines are still effective, but custom containers introduce a transformative agility.
Building images that behave predictably and integrate cleanly with simulated networks is much easier with containers. As anyone who has tried to drop a stock Docker image into CML quickly discovers, this isn’t a straightforward process. Typical Docker images lack the necessary CML-compatible metadata, network interface behaviors, and lifecycle properties. Using containers with CML is the missing element.
This blog post provides a practical, engineering-first walkthrough for building containers that are truly CML-ready.
Note about improvements to CML: When containers were introduced, only one image per node definition was allowed. With the CML 2.10 release, this restriction has been lifted. In particular, the following improvements will be added:
- Per image definition, Docker tag names such as:
debian:bookworm, debian:buster and debian:trixie
Are all valid tags for the same “debian-docker” node definitions—three valid image definitions for one node definition.
- Specification of Docker tags as an alternative to image names (.tar.gz files) and SHA256 has sums. In this case, CML will try to download the image from a container registry, e.g., Docker Hub, if not otherwise specified.
- Improved launch logic to avoid “perpetual launches” in case the SHA256 sum from the image definition did not match the actual hash sum in the image.
Why do custom containers in CML matter?
Traditional CML workflows rely on VM-based nodes running IOSv, IOS-XRv, NX-OS, Ubuntu, Alpine, and other operating systems. These are excellent for modeling network operating system behavior, but they’re heavyweight for tasks such as integrating CLI tools, web browsers, ephemeral controllers, containerized apps, microservices, and testing harnesses into your simulations.
Containers start quickly, consume fewer resources, and integrate smoothly with standard NetDevOps CI/CD workflows. Despite their advantages, integrating standard Docker images into CML isn’t without its challenges, each of which requires a tailored solution for seamless functionality.
The hidden challenges: why a Docker image isn’t enough
CML doesn’t run containers in the same way a vanilla Docker Engine does. Instead, it wraps containers in a specialized runtime environment that integrates with its simulation engine. This leads to several potential pitfalls:
- Entry points and init systems
Many base images assume they’re the only process running. In CML, network interfaces, startup scripts, and boot readiness should be provided. Also, CML expects a long-running foreground process. If your container exits immediately, CML will treat the node as “failed.” - Interface mapping
Containers often use eth0, yet CML attaches interfaces sequentially based on topology (eth0, eth1, eth2…). Your image should handle additional interfaces added at startup, mapping them to specific OS configurations. - Capabilities and users
Some containers drop privileges by default. CML’s bootstrap process may need specific access privileges to configure networking or start daemons. - Filesystem layout
CML uses optional bootstrap assets injected into the container’s filesystem. A standard Docker image won’t have the right directories, binaries, or permissions for this. If needed, CML can “inject” a full suite of command-line binaries (“busybox”) into a container to provide a proper CLI environment. - Lifecycle expectations
Containers should output log information to the console so that functionality can be observed in CML. For example, a web server should show the access log.
Misalign any of these, and you’ll spend hours troubleshooting what appears to be a simple “it works with run” scenario.
How CML treats containers: A mental model for engineers
CML’s container capabilities revolve around a node-definition YAML file that describes:
- The image to load or pull
- The bootstrap process
- Environment variables
- Interfaces and how they bind
- Simulation behavior (startup order, CPU/memory, logging)
- UI metadata
When a lab launches, CML:
- Deploys a container node
- Pulls or loads the container image
- Applies networking definitions
- Injects metadata, IP address, and bootstrap scripts
- Monitors node health via logs and runtime state
Think of CML as “Docker-with-constraints-plus-network-injection.” Understanding CML’s approach to containers is foundational, but building them requires specifics—here are practical tips to ensure your containers are CML-ready.
Tips for building a CML-ready container
The container images built for CML 2.10 and forward are created on GitHub. We use a GitHub Action CI workflow to fully automate the build process. You can, in fact, use the same workflow to build your own custom images ready to be deployed in CML. There’s plenty of documentation and examples that you can build off of, provided in the repository* and on the Deep Wiki.**
Important note: CML treats each node in a topology as a single, self-contained service or application. While it might be tempting to directly deploy multi-container applications, often defined using docker-compose , into CML by attempting to split them into individual CML nodes, this approach is generally not recommended and can lead to significant complications.
1.) Choose the right base
Start from an already existing container definition, like:
- nginx (single-purpose network daemon using a vanilla upstream image).
- Firefox (graphical user interface, custom build process).
- Or a custom CI-built base with your standard automation framework.
Avoid using images that rely on SystemD unless you explicitly configure it; SystemD inside containers can be tricky.
2.) Define a proper entry point
Your container must:
- Run a long-lived process.
- Not daemonize in the background.
- Support predictable logging.
- Keep the container “alive” for CML.
Here’s a simple supervisor script:
#!bin/sh

echo "Container starting..."

tail  -f /dev/null
Not glamorous, but effective. You can replace tail -f /dev/null with your service startup chain.
3.) Prepare for multiple interfaces
CML may attach several interfaces to your topology. CML will run a DHCP process on the first interface, but unless that first interface is L2-adjacent to an external connector in NAT mode, there’s NO guarantee it will acquire one! If it cannot acquire an IP address, it is the lab admin’s responsibility to provide IP address configuration per the day 0 configuration. Typically, ip config … commands can be used for this purpose.
Advanced use cases you can unlock
Once you conquer custom containers, CML becomes dramatically more flexible. Some popular use cases among advanced NetDevOps and SRE teams include:
Synthetic traffic and testing
Automation engines
- Nornir nodes
- pyATS/Genie test harness containers
- Ansible automation controllers
Distributed applications
- Basic service-mesh experiments
- API gateways and proxies
- Container-based middleboxes
Security tools
- Honeypots
- IDS/IPS components
- Packet inspection frameworks
Treat CML as a “full-stack lab,” enhancing its capabilities beyond a mere network simulator.
Make CML your own lab
Creating custom containers for CML turns the platform from a simulation tool into a complete, programmable test environment. Whether you’re validating automation workflows, modeling distributed systems, prototyping network functions, or simply building lightweight utilities, containerized nodes allow you to adapt CML to your engineering needs—not the other way around.
If you’re ready to extend your CML lab, the best way to start is simple: build a small container, copy and modify an existing node definition, and drop it into a two-node topology. Once you see how smoothly it works, you’ll quickly realize just how far you can push this feature.
Would you like to make your own custom container for CML? Let us know in the comments!
* Github Repository – Automation for building CML Docker Containers
** DeepWiki – CML Docker Containers (CML 2.9+)
Sign up for Cisco U. | Join the Cisco Learning Network today for free.
Follow Learn with Cisco
X | Threads | Facebook | LinkedIn | Instagram | YouTube
Use #CiscoU and #CiscoCert to join the conversation.
[ad_2]
Source link